
Roles and Permissions
Manage Roles and Permissions Easily in SafetyDocs Platform
Roles and Permissions
At Safetydocs.org, we use a flexible roles and permissions system to control who can view, edit, and manage your safety documentation. Whether you’re managing a team of volunteers, contractors, or internal departments, permissions ensure that everyone sees exactly what they need — and nothing more.
Each user can be assigned one or more roles. When multiple roles are assigned, permissions stack, meaning a user will gain any ability granted by any of their roles.
Managing Roles
Administrators can create and edit roles by visiting the Settings > Roles area.
Each role includes:
System Permissions — what a user can do across the platform (e.g. manage users, change settings).
Content Permissions — default abilities within documents (e.g. create, edit, view pages, books, or shelves).
Roles come with default settings out of the box, but you can tailor them for your organisation’s needs.
Many content permissions also include an “Own” option, allowing users to manage content they’ve created, without affecting other users’ content.
Assigning Roles to Users
Roles are assigned by an admin via the Settings > Users section.
Users can have multiple roles.
Permissions from all assigned roles will combine.
This allows for flexible team structures — for example, a person can be both an “Editor” and a “Publisher”.
Automated role assignment is also possible if you use integrated login systems such as:
Default role after registration
LDAP group sync
SAML2 group sync
Content-Level Permissions
For greater control, permissions can be set on individual items:

Shelves
Books
Chapters
Pages
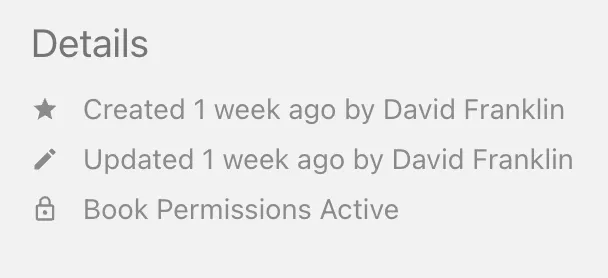
This is done via the “Permissions” option when viewing any item (visible to users with the correct role permissions).
Within this view:
Select a role to override default permissions for that specific item.
Use the “Everyone Else” rule to control access for any users not explicitly assigned a role in that context.
Choose to inherit defaults or manually set permissions for each role.
You’ll see a clear indicator when a page, book, or chapter is inheriting custom permissions from a parent — and if you have access, you can click to edit those permissions directly.
How Permissions Behave
Books and Chapters: Custom permissions cascade down automatically to all child content (unless a child has its own permissions set).
Shelves: Due to their many-to-many relationship with books, custom permissions do not cascade, but you can apply them to all linked books in one click.
The Admin role always retains full access and cannot be overridden.
Permission Logic — Explained Simply
Permissions follow a clear hierarchy — from broad to specific:
Role-level permissions — set globally for the user’s role
“Everyone Else” content permissions — applied at the content level for all unspecified roles
Role-specific content permissions — applied to specific roles at the content level
When permissions overlap:
More specific settings override general ones
If both “allow” and “deny” are set at the same level, we prioritise access (“allow”)
This ensures clarity and prevents unintended access blocks — while still giving you detailed control.
Need help setting up the right permissions for your team or event structure?
We’re happy to assist — or we can provide a sample role configuration guide tailored to event safety workflows.

Assistance Hours
Mon – Fri 8-6
Sat - Sun 9-5
SafetyDocs Ltd 483 Green Lanes, London, N13 4BS